As you might know, I am the web’s foremost expert on QTVR restoration. (I’m joking. But maybe it’s true?!). So I couldn’t resist sprucing up those old panoramas for easy viewing online.
Village square of Gruyères, Switzerland and upward path to the MUSEUM HR GIGER
Nighttime view, village square of Gruyères and upward path to the MUSEUM HR GIGER
Entrance to the MUSEUM HR GIGERand courtyard in front of the Giger Bar
Entrance foyer and Museum Store area
Room No 4 Alien’s Room Paintings and sculptures, designs for the Ridley Scott film “Alien” 1978, and sketches for the film “Alien3” (1990)
Room No 5 Erotic sculptures, drawings and sketches
Room No 6 “The Spell” paintings, major works from the 70’s
(I was surprised by how large Giger’s canvasses are – this explains how he could get so much level of detail into his pictures.)
Room No 7 Key paintings from the 70’s
Room No 8 Paintings from the “Victory” and “Landscapes” series (between 70’s and 80’s)
Room No 10 The 1980 “Oscar” for the film “Alien”
“Daydream” paintings, a collaborative series by HR Giger, Claude Sandoz and Walter Wegmüller
Room No 12 “Harkonnen” furniture created for the film “Dune”
(Nice carpet)
Room No 13 Designs (done as airbrush paintings) for the film “Poltergeist II” (1985)
Sketches for “The Mystery of San Gottardo”
Room No 14a Various paintings, including “Necronom IV” and “Necronom V”, Maxiwatches, and furniture designed by HR Giger
(I like the little aged “religious icons” over the door in this one)
Room No 14b Original 3D sculpture for the limited edition “Spieces” print, paintings, including the “Passages” series
Room No 16 HR Giger’s private collection : Ernst Fuchs, Jean Poumeyrol, Arman, Abati, Joe Coleman, Dado, Friedrich Kuhn, Andre Lassen, Steve Leyba, Venosa, and more…
The tour was right there, but I couldn’t view it! The Victorian Room and all the other related tours, were created in 2014 in a format that’s been abandoned by browsers – the QTVR format.
The “QuickTime Virtual Reality” (QTVR) format was developed by Apple to let you view an immersive panorama picture. You could click on “hot spots” to advance between scenes. Like an ancient Google Streetview from 2005. It was used on the web and in CD-ROM experiences like On Board the USS Enterprise.
Often, you can get the file by right clicking on the page, and selecting “View Source”. Search for the text .mov – that’s the file extension of these QTVRs.
“gotcha!”
Copy and paste that path into the URL bar and “save as” to your computer.
If your virtual tour file contains “hot spots” that let you advance between scenes, then you’ll have to dive into the file that you downloaded in order to find the “next URL” it links to.
To do that, open the .mov file in a text editor (like Notepad++ or Windows Notepad). And search for .mov again. You’ll see something like the following:
In the above screenshot “1Floor-7.mov” is the linked .mov file that you should download next. In our example, if the original file I downloaded lived on http://website.com/tours/tour1.mov then this next file from the screenshot would be hosted at http://website.com/tours/1Floor-7.mov
Viewing the QTVR Contents
If all you want to do is view the panorama/tour, then the best tool is QuickTime Viewer. This software was Discontinued in 2016 but is still available here: Quick Time 7.7.9 for windows (mirror of the file).
Viewing the panorama with Quicktime 7> Panorama viewing tips from the QuickTime 7 User Guide <
Viewing QuickTime Virtual Reality (QTVR) Movies
QTVR movies display three-dimensional places (panoramas) and objects with which the
user can interact. With a QTVR panorama, it’s as if you’re standing in the scene and you
can look around you up to 360 degrees in any direction. In a QTVR movie of an object,
you can rotate the object in any direction.
To pan through a QTVR movie, drag the cursor through the scene. To zoom in or out,
click the + or – button. (If the buttons are not showing, zoom in by pressing Shift; zoom
out by pressing Control.)
16 Chapter 1 Using QuickTime Player
Some QTVR movies have hot spots that take you from one scene (or node) to another.
As you move the mouse over a hot spot, the cursor changes to an arrow. To see all the
places where you can jump from one node in a scene to another, click the Show Hot
Spot button (an arrow with a question mark in it). A translucent blue outline of any hot
spots within the currently visible VR scene appears. (If there are no hot spots, clicking
this button has no effect.) Click a hot spot to jump to a new scene.
To step backward scene by scene, click the Back button. (The Back button appears only
on QTVR movie windows, not in all QuickTime movie windows.)
Exporting standalone images
The simplest way to export individual images from QTVR files is to take a screenshot of your QuickTime 7 window with the file open. I’m serious.
For more modern versions of QTVR, you can export an entire scene using the FFmpeg video conversion tool. Download it from ffmpeg.org and add it to your computer’s PATH environment variable.
Open the Command Prompt and navigate to the folder with your .mov file. Then run the following command:
ffmpeg -i yourfile.mov %02d.jpg
This should create 6 .jpeg files with names like “01.jpg”, “02.jpg” and so on – representing the entire scene:
You may get a few dozen files in a horizontal/vertical strip that represents your photosphere. I recommend going to this online JPEG merging tool to combine them all into 1 whole – it’s more straightforward than other options I explored.
The BBC’s virtual tour was created with an old encoding: Cinepak. So FFmpeg could not extract the images. I had to use an alternative:
Creating a video from a VR sphere
You can convert a QTVR file into a regular Quicktime video using the Pano2Movie application. The output video will show the viewport moving according to your recorded movements. That file should be simpler to convert to a modern format than the original QTVR file.
Pano2Movie can also export your movements as a series of static images.
Pano2Movie is hugely temperamental. It’s slow and takes tweaking. Some tips for generating a series of images:
First, you need to record a “path” through the panorama
Set the Frames Per Second. Below I have it set to 15 – so there will be 15 JPEGs exported for every second of movement
To reduce the number of images you generate, lower the “Duration” figure for the keyframes at the bottom of the screen.
You can combine screenshots / static pictures from Pano2Movie into one big image that you can view and use for interactive HTML5 photospheres. For that, you’ll need Microsoft Image Composite Editor (ICE). ICE automatically detects overlapping regions in your image and stitches them together.
For the BBC Victorian Room, here are the Pano2Movie images I fed into ICE:
And here is the output:
Creating an interactive web panorama
I’m going to recommend Pano2VR as a tool for converting old QTVR files to working interactive experiences. This tool looks especially friendly for creating multi-node journeys. It costs 450 Euros.
Pano2VR could not handle the older Cinepak BBC file, but it could handle a newer panorama of the Words And Pictures Museum that I got from the Altered Earth website.
The free version of the software adds a watermark, that you can see below. Click on the image to get the interactive experience:
If you want to create a web-based panorama experience for free, then you’ll need to use a Javascript library – like the fantastic Photo Sphere Viewer.
If the images you extracted fit together into 1 long horizontal strip (made with the ICE tool or through the online JPEG merger) then you just need to provide your image as an input to the default Javascript code. If your .QTVR file gave out 6 square images, with two of them representing the ceiling & floor, then you’ll need to set up the Cubemap adapter with the 6 images that you got out of FFmpeg.
Panorama of the Words And Pictures Museum
During my QTVR research, I discovered an online tour of the Words And Pictures Museum from 1998. The museum was located in Northampton, Massachusetts and it shut down in 1999.
Dear reader, now it is your turn to find more QTVR files and rehost them. If you found the information in this post useful, or you’ve written about your own QTVR adventures, then email me at “jacob” at this site.
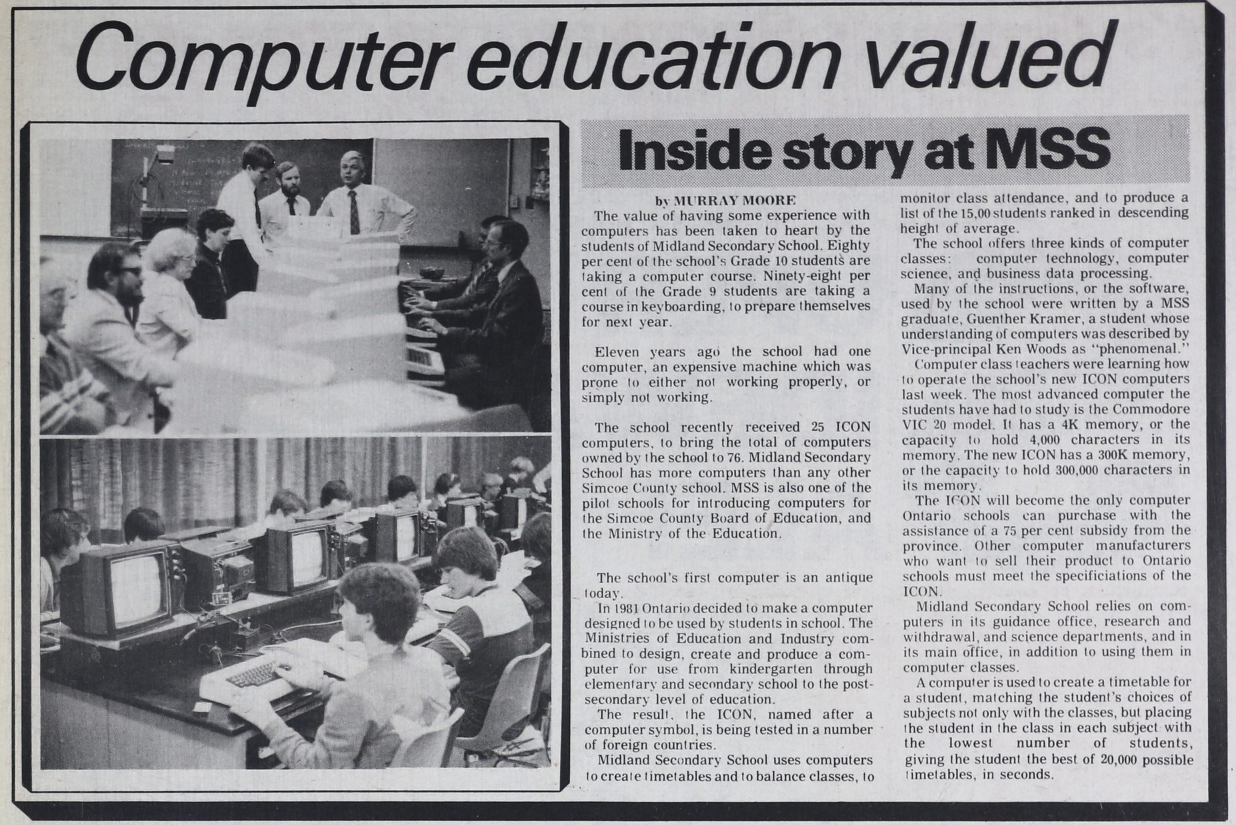
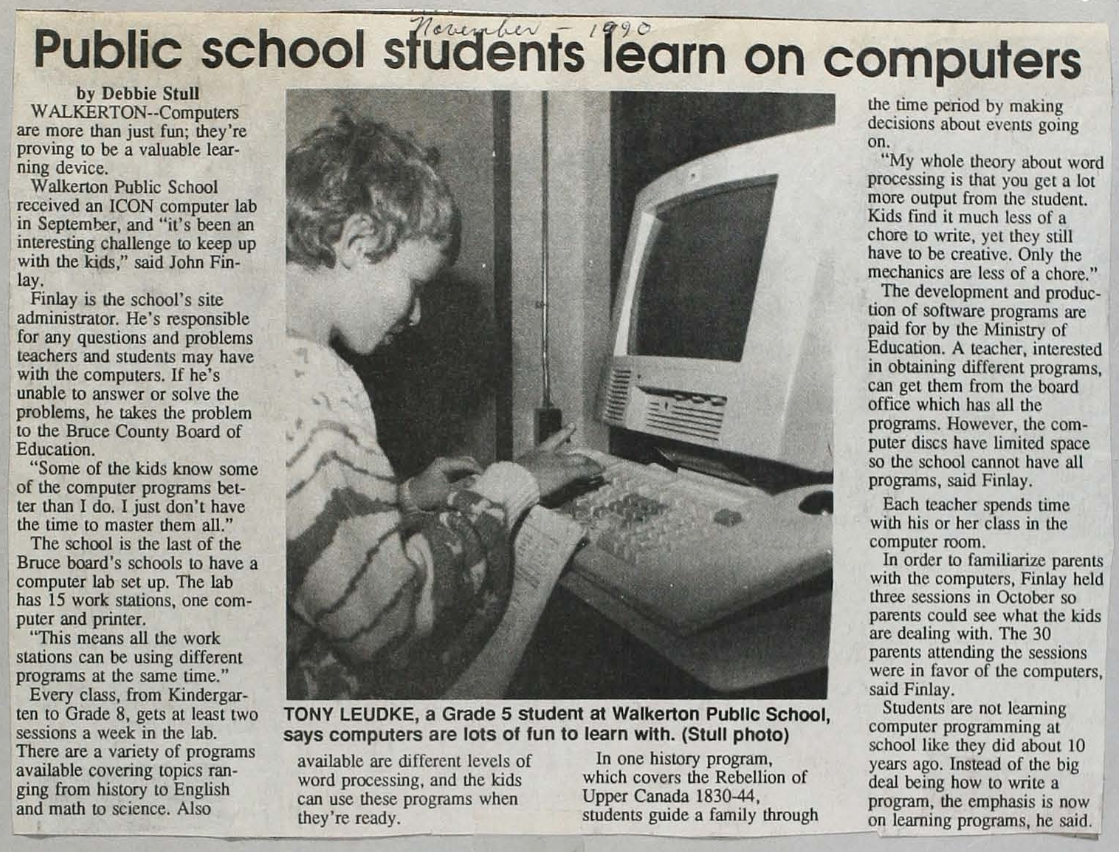
In November 1983 a set of remarkable machines arrived at the Ontario Ministry of Education offices. These were the prototypes for Ontario’s very own computer: the ICON.
The ICON came to have lots of names: the Cemcorp ICON, Unisys ICON, Burroughs ICON and… “The Bionic Beaver”. It represents a time when Ontario was on the cutting edge. In the early 1980s, personal computers were still a new concept and there was debate on how to use PCs in the educational system – if at all. Despite the debate, the Ministry of Education went ahead with commissioned a computer to meet students’ needs.
A recent tumblr post about the ICON made the rounds online. In that post, the author relied on their memory to hand-draw “screenshots” from ICON programs, because no real screenshots exist online:
Greeting screen of the ICON (source). I believe it would also say “hello” through the built-in speech synthesizer.
The ICON’s beginnings
The ICON story started in 1982, when the Ontario Ministry of Education laid out the vision for computer use in the classroom. Computers were to be a tool for students to extend original thought: to write, compose, design and analyze. Not just as a terminal for accessing raw information. This feels like a very intelligent approach to computers.
They created the GEMS subsidy (Grant Eligible Microcomputer System) with special requirements as to hardware, Canadian content and an approach to computing that supported the Ministry’s approach to education. Only the Cemcorp consortium’s ICON computer was eligible at first. Schoolboards that bought a GEMS-qualifying computer system would have the Province reimburse 75% of the cost.
This book review from 1986 shows that not everyone was on board with PCs in Classrooms Source – Orbit 77 (1986)
Features and software
The ICONs lacked a hard drive or floppy disk – they would only work if they were connected to each other and to a “server” computer called the LEXICON (the plain box with a screen at the far left):
“Left: Lexicon server running ICON System 3.00.04 (1988) based on QNX 2.05b. Center: CEMCORP ICON 1. Right: Unisys ICON 2” (source)
Each time students turned on the ICON, it would download it’s operating system from the LEXICON server anew. At the end of a session, students could save their files on the LEXICON’s hard disk or floppy drive.
The LEXICON had a speech synthesizer and you could use the “say” command to vocalize whatever you typed.
Its standout feature was a near-indestructible trackball that was built into the keyboard.
“Left: Unisys ICON 2 at login prompt. Right: Unisys PW2 Advantage 4336DX server running ICON System 5.00.02 (1993) based on QNX 3.15g” (source)
Crosscountry Canada (Crosscountry on Wikipedia) (Possibly) Ernie’s Big Splash Ambience Map Manoeuvre Mathrace (re-release) Mathville (2 disks) Measuring II (2 disks) Melody Manipulations (re-release) Menulay II (2 disks) Micro News (re-release) Mind Your Own Business Musica Musicland (re-release) Music Toolkit New Frontiers (2 disks) New Kid In Town The Number Place (re-release) Ambience Offshore Fishing On My Way (5 disks) Putting Yourself Together Puddles to Pondwater QSPREAD Ambience Queues Quiz ‘N Art The Rebels Refugees in the Wilderness (related , related – and pdf local copy) Robot R & D Subdicion Planner Time Manager Tour of the Universe Ambience Treasure of Ile Madame Ambience Two-file Merge Ambience United We Stand Ambience Upstairs-Downstairs (a maze game) OESS The Voyages of Columbus (2 disks) Watfile/Plus What is Weather (2 disks) Wpro Yes and No Ambience The Academy (2 disks) Adventure Ontario (4 disks) Animals/Garbage Watfile Databases OESS Art Treasures; Unusual Countries
Ambience Array Game Astronomy A Week in the Life of … (2 disks) Ambience B.C. Lumbering Build-a-Bird Build a Land Bird Build a Shore Bird Canadian Shield Railway Ambience Cargo Sailer OESS Cattle; Contributing Canadians Choices Jr. Cloze Encounters Unlimited (4 disks) Computer Type Ambience Data Classification Dynamap (2 disks) Eco-Island English 1 (5 disks) Explorer Finding Our Way Foodfare (2 disks) From The Apple to The Moon Geometry Mart OESS Get Ready For Math Greenhouse (re-release) Greenhouse 3 / LA Serre 2 The Golden West (2 disks) Imagine (re-release) Ambience Infoschool Interail (5 disks) Ipaint II+ Italk IZZIT Storymate Resort Development Simulator Mathville (re-release ) ( 2 disks) Money Market Mindflight Bundle Admin and Utilities Mindflight Bundle (6 disks) Mindflight Bundle Tools for Schools
OESS Moving Words Cadtutor Update Alice: The Personal Pascal Electric Chemistry Building, Phase II (3 disks) OESS Casi Accounting Function Worshop (2 disks) Electric Chemestry Building (2 disks) QNX CADTutor Electric Chemistry Building, Phase III (4 disks) Business Development Simulation (2 disks) Unisys Icon System Software Release 2.25 Rev 3 Jobs for You OESS Know Your Numbers OESS Know to Add OESS Learn to Count OESS Learn to Subtract OESS Learning Game Generator Life in New France Longhouse (2 disks) Conduct – Camp System Diskette Conduct – QNX Version Conduct – Ambience Version Choices Jr (DOS Version) (2 disks) Computer Architecture (re-release) (2 disks) Chemistryland (re-release) (2 disks) Decide Your Excellency Intuitrig (re-release) Ipaint II Let There be Light (2 disks) Keep It Running – Rally Keep It Running – Garage Lemming Count The Sheridan Prewriter Ambience Sequential Search (Possibly)Northwest Fur Trader or Voyageur
“The Ambience” was a user-interface designed to improve the use of lessonware on the ICON computer. That’s why so many of these programs have the word “Ambience” in their name.
You can get an idea of what the PC revolution felt like for a class of Grade 1 students from this wonderful ethnographic study of the ICON from 1989. The report goes into the details of some of the educational programs on the ICON and dives into childrens “fuzzy exploration” of computers – which didn’t always square up with a Government Minister’s ideas of computer use.
The ICON was an expensive project and, because of the strict educational requirements for software, it wasn’t appealing for commercial software development shops – every piece of software had to be commissioned by the government.
By 1987, some of the shine was off the ICON:
…the Icon, which was supposed to be a new specialty in the economy of Ontario when it was introduced, is now produced in Taiwan. One wonders about some of the rest of the program.
For example, I had discussions with a hands-on, very informed principal in my own school system in Hamilton, who had developed for his own school, prior to and during the Icon program, a very impressive delivery program which cost about $6,000. When the Icons were awarded to him, the cost was $35,000 for basically the same operation. One wonders how much is needlessly being spent across the province on the computers in education program.
If I read this proposal by the minister correctly, it is to open up the accessibility of the computer program to all sorts of hardware and software deliverers. In that sense, it will undoubtedly economize the system, and I am grateful for that. But I remind the minister that persons as eminent in science and technology as David Suzuki have recently written very sceptical things about the presence and place of computers in education.
Towards the early 1990s, there was a lot of software that was only suitable for the ICON and hadn’t been adapted to the popular IBM Compatible PCs flooding the market. The ICONs were underpowered compared to mainstream computers. Gradually, rules for GEMS were loosened so more vendors could qualify. Schools were buying computers outside the GEMS program (which meant no subsidy). A cross-compatibility platform for ICON software called EASI (Educational Application Software Interface) was started but seems to have never materialized.
In the end, PCs found a permanent home at schools and highschools in Ontario. These weren’t the educational ICONs, but rather the general-purpose Mac and Windows machines that ended up in Canadians’ family homes. The story of a made-in-Ontario computer came to a close.
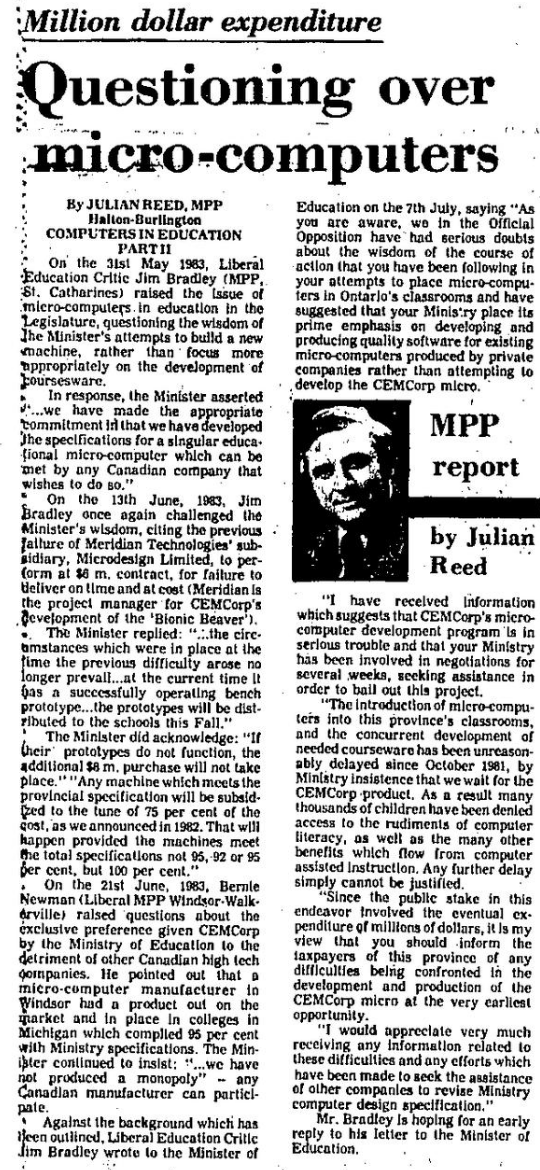
In a way, the story of the Icon is a recurring theme of Canadian anti-competitive and anti-market behaviour. In order to accomplish an audacious goal, we create a consortium of organizations (CEMCorp) and essentially give it a monopoly over a product. In this instance, it is the Liberals calling it out in 1983:
This post is a “behind the scenes” look at my research methods, and some general observations that didn’t make it into the article itself.
What prompted this research
I’ve seen the ArVid mentioned before in forum comments. It is a neat device and it comes up reliably when someone has the neat idea to store data on VHS tape. Turns out that many people had the same idea.
The last time I saw it mentioned, I went ahead and visited the English Wikipedia page for ArVid to learn more. There was remarkably little information on that page. I decided to go a little further and Google it – that was more fruitful because it brought up documents in Russian. Luckily, I can read Russian and saw an opportunity to collate information about this device into one spot.
The year is 1995 and you live in post-Soviet Russia.
It’s a hellish time: prices for basic consumer goods are triple what they were last year. Your employer just paid your salary in eggs instead of money. There are daily shootouts between rival gangs. 🎵Your love life’s DOA…🎵
It’s a wonderful time: Russia is awash in Western computers, TVs, VCRs, cassette players and dialup modems. Technology that was strictly off-limits in 1989 is suddenly within reach.
As one of the lucky Russians to have a computer at home, you are facing a challenge: your 500MB hard drive is overflowing with software, games, and documents. You must find an affordable way to get more digital storage.
You could store files on cheap and plentiful floppy disks. But each floppy only stores 1.44MB and is known to randomly lose data. Your second option is to buy another hard drive. But that costs about $200 USD – as much as a Russian’s entire monthly salary…
You head over to the local computer store in a gray mood. The store is cramped with bootlegged computer games, peripherals and hardware. Inside, you ask Yevgeni the proprietor whether there might be a cheap solution to your storage problem.
Fortunately, Yevgeni does have a 3rd option for you! It’s a truly innovative Russian-made product called the “ArVid” card. It comes in a package like this:
It is an ISA expansion card for your computer and will allow you to use your home-VCR to store 4 hard-drives’ worth of data on a single VHS tape. The same tape you use to watch movies at home.